Ready to launch your products in minutes? Meet Genki's Auto Mode—the ultimate beginner-friendly workflow designed to save you time. If you are a first-time creator, you will love how fast and simple this process is. Genki provides detailed, step-by-step guidance from the moment you upload your artwork until your product goes live. Plus, navigating the interface is a breeze; you can instantly zoom in and out on the canvas using your mouse wheel to perfect every detail.
Step 1: Entering Auto Mode
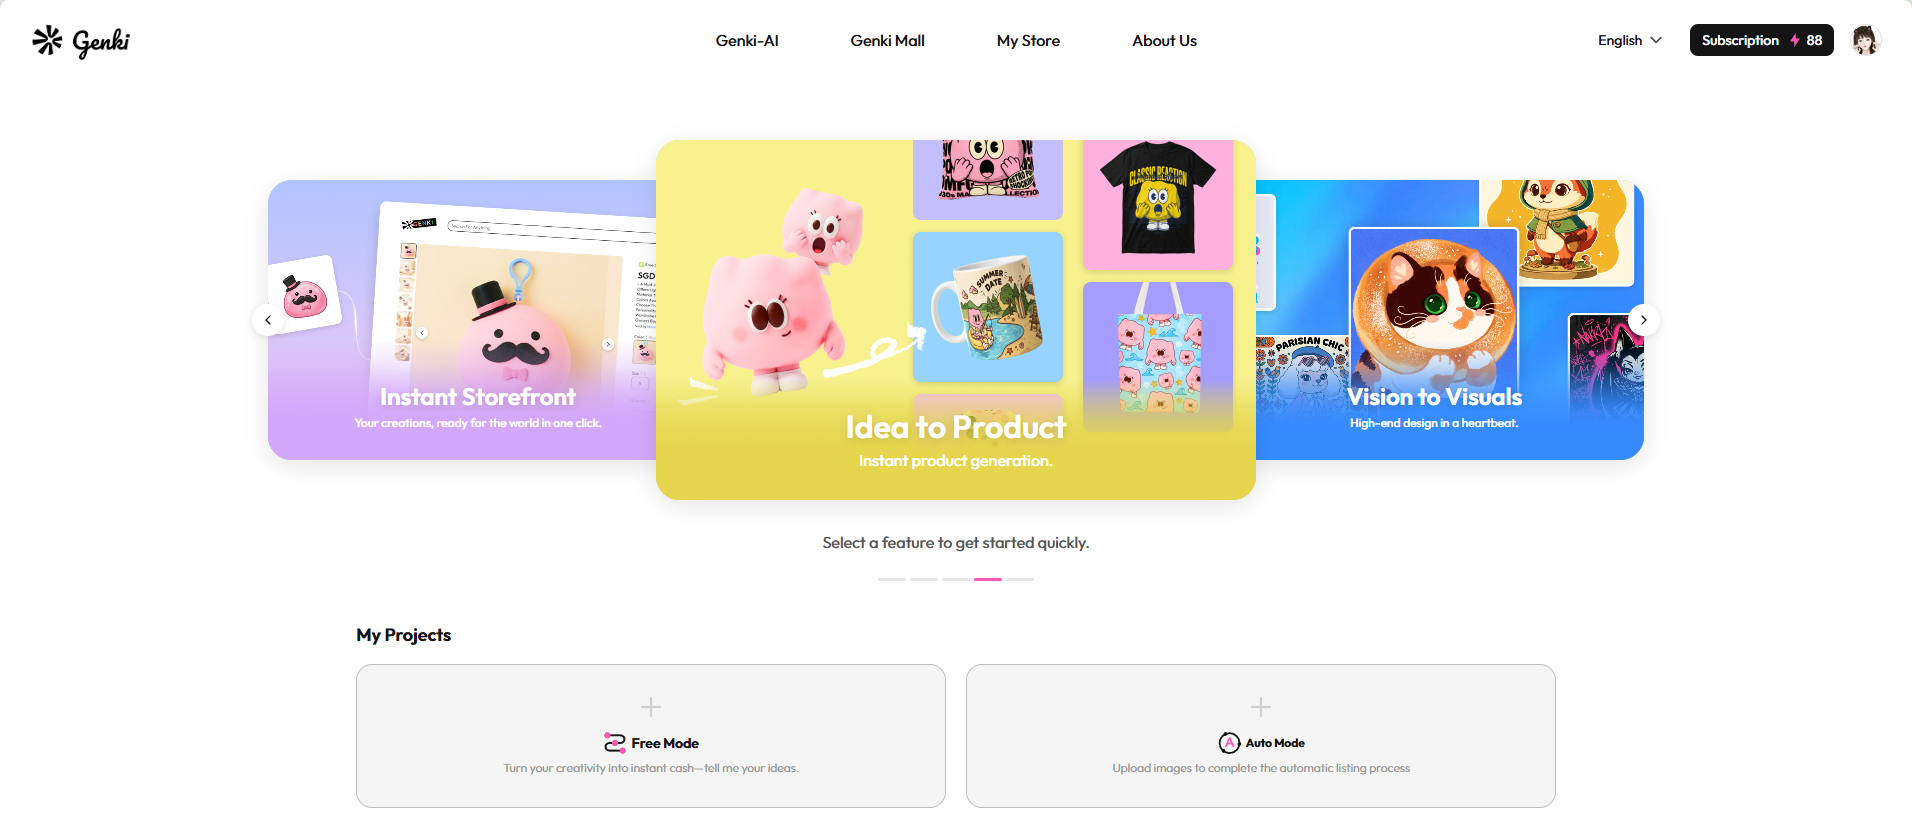
Getting started is simple. When you log into your Genki dashboard, you will be prompted to choose your creation workflow. To enjoy the fastest and most automated experience, you can access Auto Mode in a couple of easy ways:
- Via My Project: Simply navigate to the "My Project" section on your dashboard and select Auto Mode to begin.
- Via the Banner: Look out for the "Idea to Product" option in the main carousel/banner area—clicking this will also take you straight into Auto Mode.
Step 2: Uploading Your Artwork
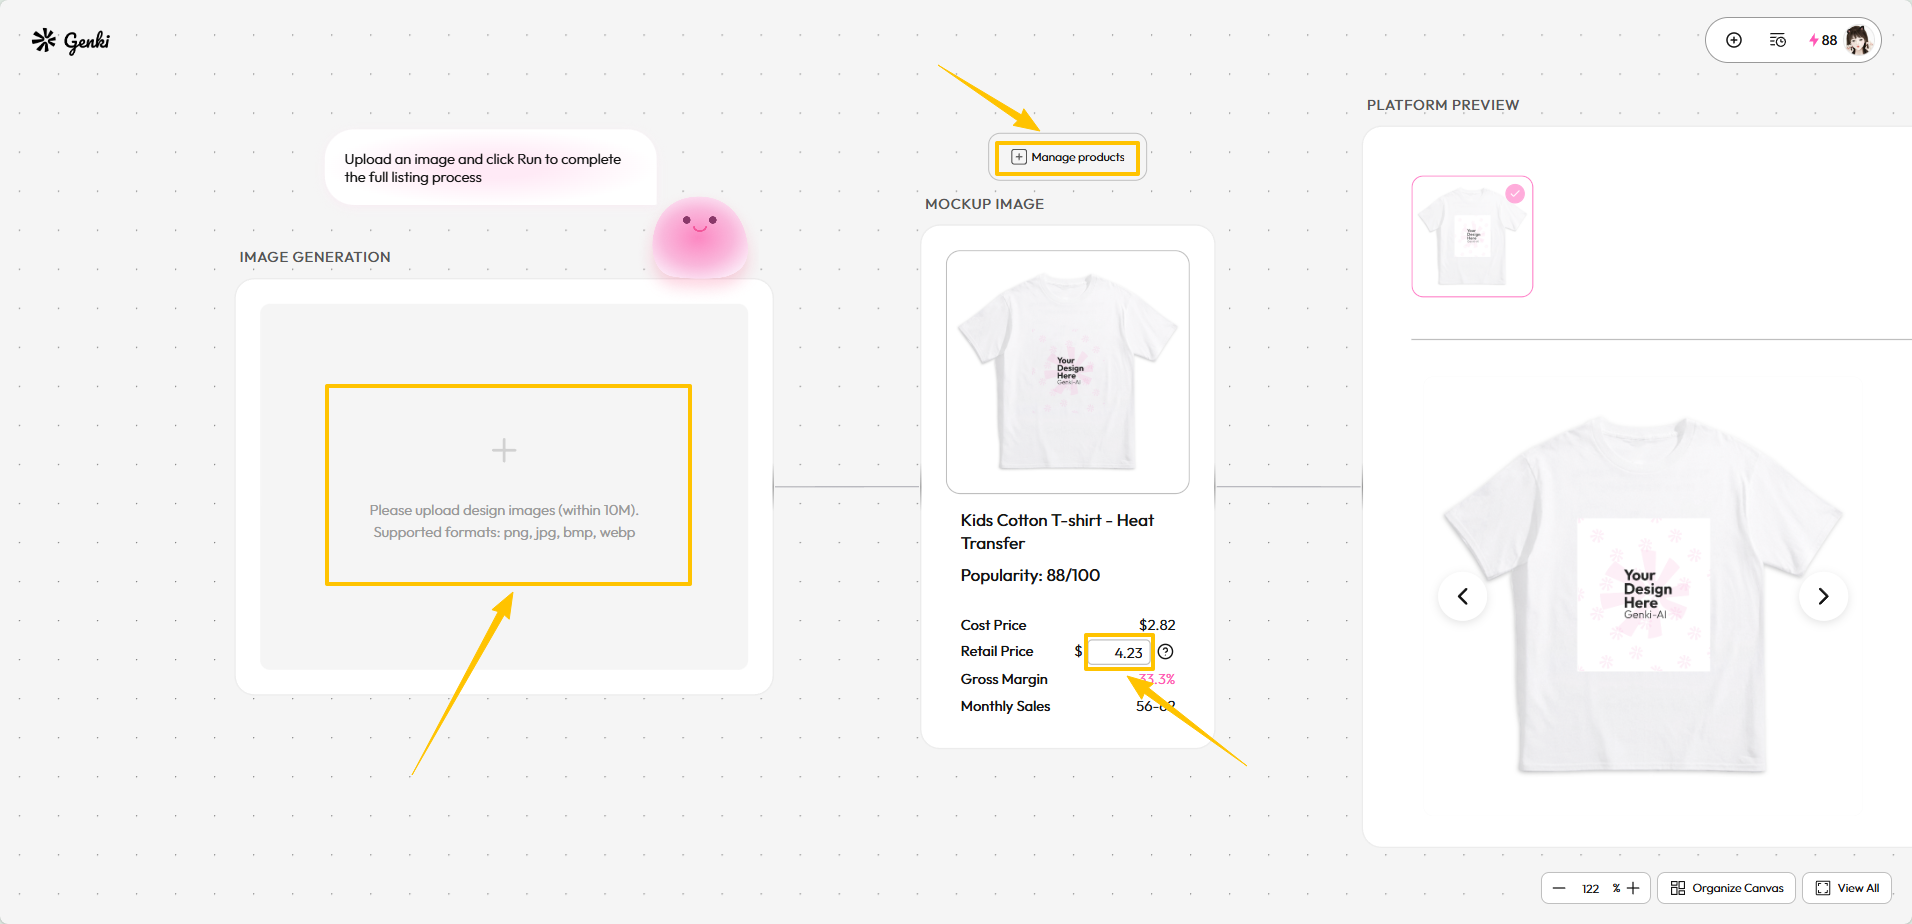
Once you are in Auto Mode, you'll find a complte workflow. The first major step is bringing your digital art onto the platform:
- Click the Upload button in the left to choose your artwork file and upload it to the workflow.
- Make sure your file is high-resolution to ensure the best printing quality for physical merchandise, but make it within 10M, currently PNG, JPG, BMP and WEBP are supported.
- Once uploaded, your artwork will appear on the interactive canvas, where you can use your mouse wheel to zoom in and check the details.
Step 3: Selecting Your Products
With your artwork ready, it's time to choose the physical products you want to offer. Genki's Auto Mode makes it incredibly easy to curate your collection right next to where you create:
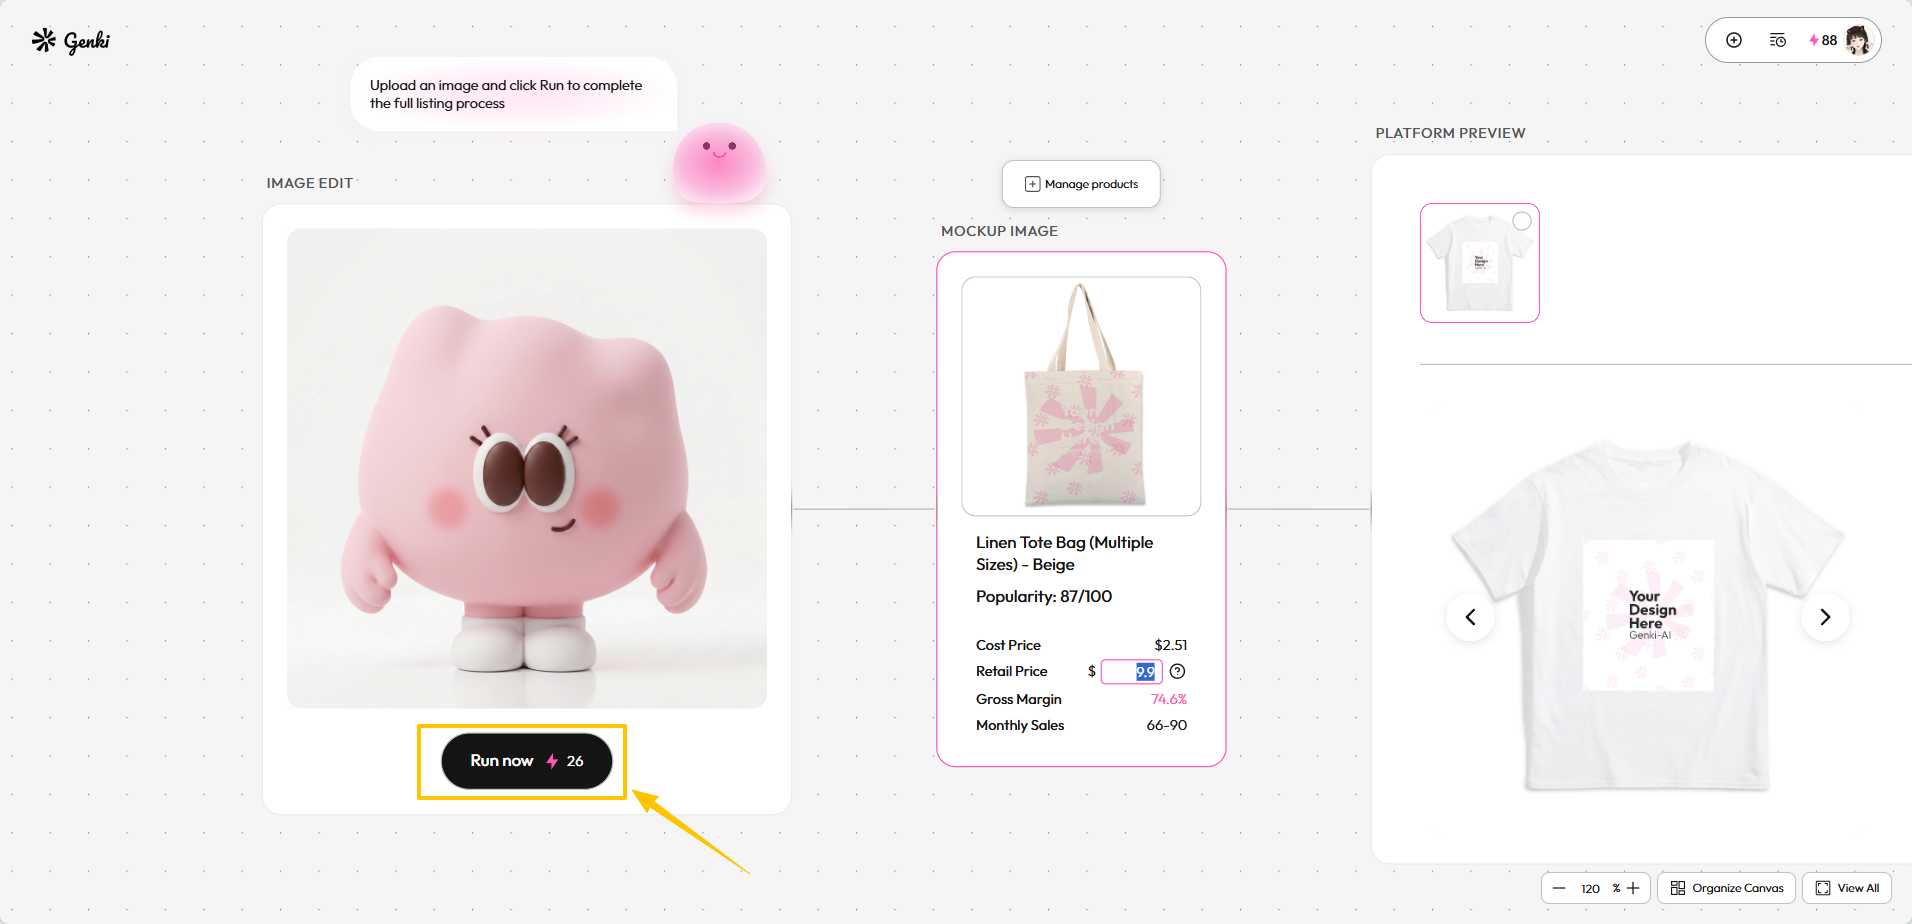
- Open the Product Manager: Move your mouse to the MOCKUP IMAGE module, which is located right next to the image generation panel, and click "Manage products".
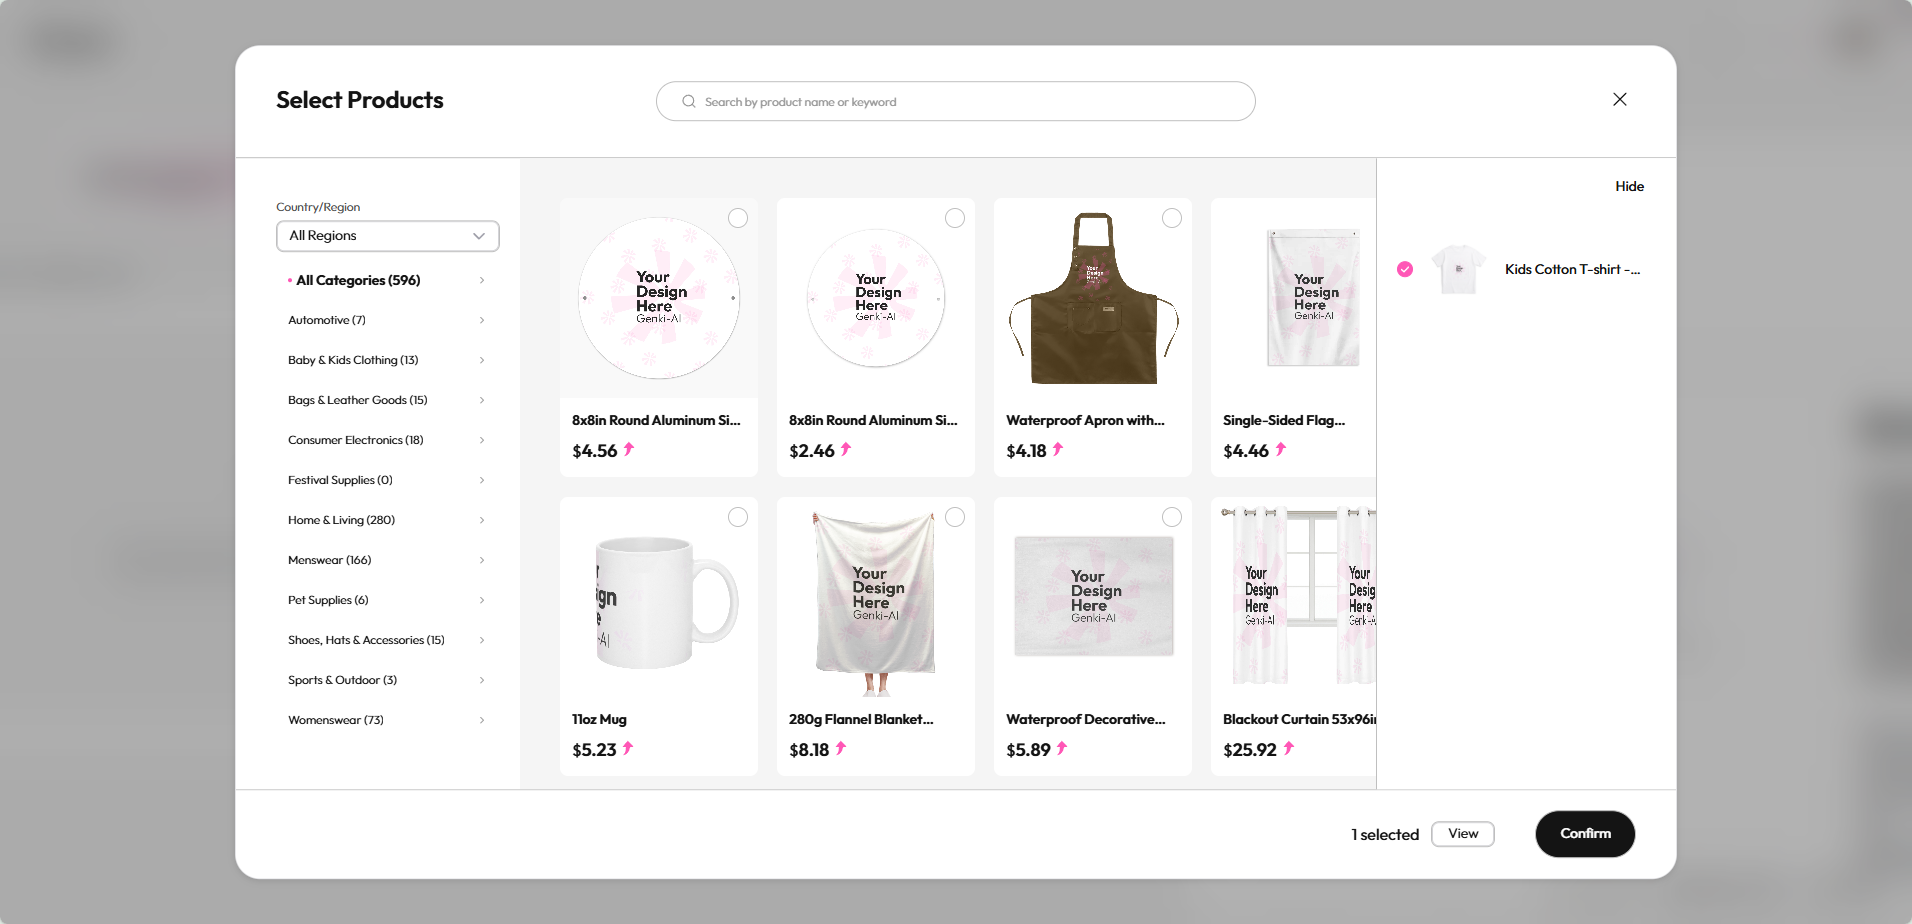
- Browse & Select: You can browse through a massive catalog of over 500 high-quality products. Whether you are focusing on custom apparel, home decor, or unique collectibles, simply check the boxes for the items that best fit your brand and artwork vibe.
- Set Your Pricing: Don't forget to enter your retail price in the designated box. To help you price smartly, the platform clearly displays both the cost price and your estimated gross margin for quick reference.
Once your product selection and pricing are set, you're ready for the final step!
Step 4: Publishing Online
You are at the finish line! To bring your creation to life, simply click Run Now to initiate the full automated listing process.
Before you proceed, there is one important requirement to keep in mind for a smooth launch:
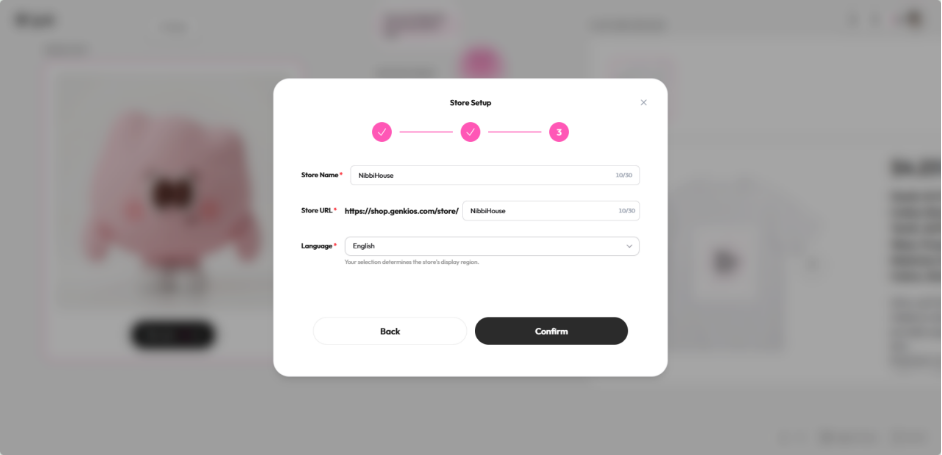
- Setting Up Your Store: To successfully complete the process, you will need an active storefront. If you haven't set up a shop ahead of time, don't worry! The system will gently prompt you to create one on the spot. All you need to do is enter your Store Name, custom URL, and preferred Language to instantly open your shop.
What Happens Next?
Once you hit Run and your shop is ready, just sit back and relax:
- Automated Listing Generation: Give the system a few minutes to work its magic.
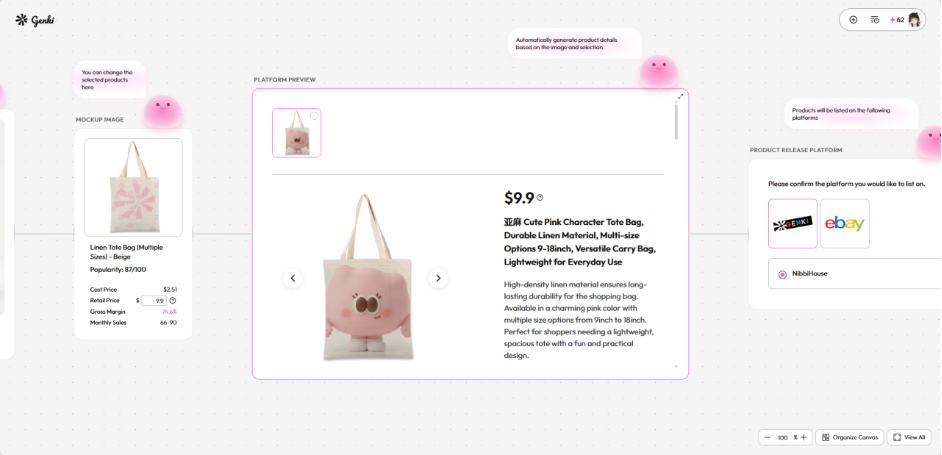
- Review Your Workbench: Your workbench will automatically populate with comprehensive product details, including professionally generated marketing images, mockup photos, and detailed product descriptions.
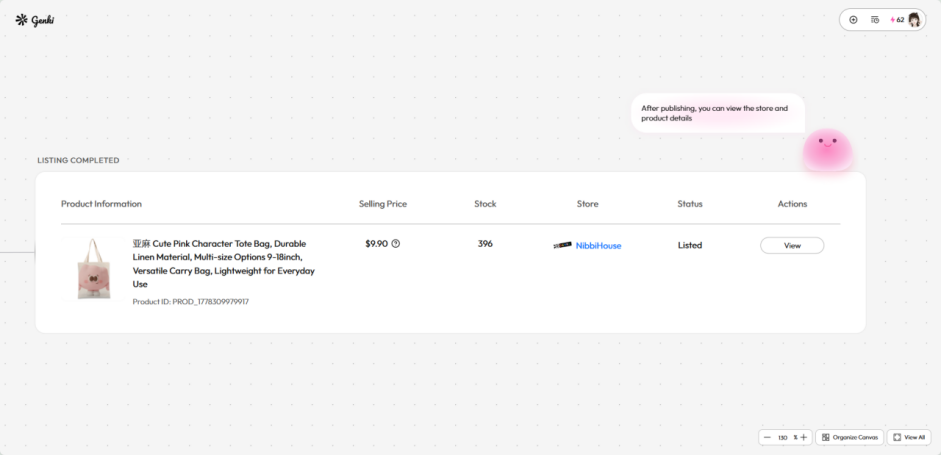
- View Your Live Product: When the process is complete, simply click your direct store link or the "View" button to check out your brand-new, live product detail page!
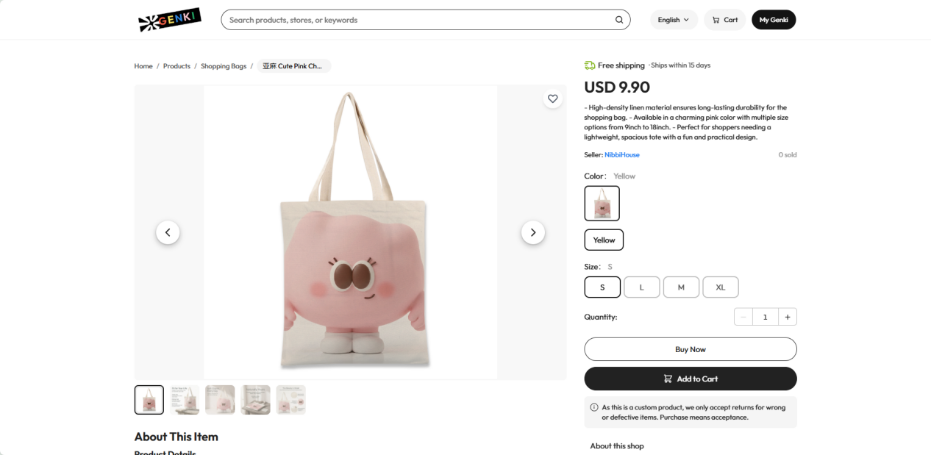
Just like that, your digital design is officially a physical product, beautifully listed and ready for the world to buy!
Related readings: